Fix This PC Doesn’t Currently Meet All the System Requirements Windows 11
Here are all the ways to fix the ‘This PC doesn’t currently meet all the system requirements for Windows 11’ error message on the PC health check app.
1 Fix This PC Doesn’t Currently Meet All the System Requirements Windows 111.1 Ensure Your PC Meets The Requirements1.2 Enable TPM And UEFI1.3 Changing Registry Settings1.4 Install Windows 11 Using Media Creation Tool2 Final Words
Ensure Your PC Meets The Requirements
Firstly, you should ensure that your PC meets the requirements of Windows 11. Microsoft has set a certain set of system requirements that will ensure whether you can install Windows 11 or not. Given below is a list of all the system requirements that your PC must meet to install Windows 11-
Processor- Your PC must have a 1GHz or faster processor with two or more cores. The processor should be based on the 64-bit architecture. Storage- There should be at least 64GB of free space remaining on your disk to install Windows 11. Memory- A minimum of 4GB RAM is required for your PC to run Windows. Graphics Card- The graphics card on your PC should be compatible with DirectX 12 or later with the WDDM 2.0 driver. Display- An HD display of size greater than 9” diagonally with 8 bits per color channel is required. System Firmware- The system should be UEFI, secure boot capable. TPM- Your PC should come with TPM (Trusted platform module) version 2.0 to run Windows 11.
Your PC should meet the above system requirements to be able to run Windows 11. If your PC doesn’t meet any of the above requirements, you will be notified about it in the PC health check app. However, if your PC meets all the system requirements, and you still get the ‘This PC Doesn’t Currently Meet All the System Requirements for Windows 11’ error message, then you should move to the next step.
Enable TPM And UEFI
If you have bought a new PC, then it will have TPM 2.0 and UEFI. However, if you are still getting this message, it may be because they might be disabled. You will have to enable it from the BIOS menu. To do so, you will have to refer to the guide you get with your motherboard. You can check on the official website of your motherboard for how you can enable TPM 2.0 or UEFI for your motherboard version.
Changing Registry Settings
If you are on an unsupported system ( without TPM 2.0 or UEFI), and you still want to install Windows 11, you will have to do this by making certain registry tweaks. To do so, follow the steps given below-
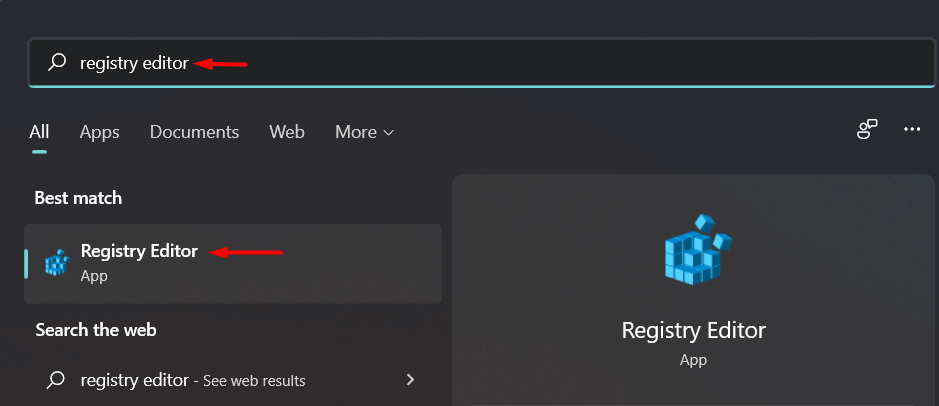
In the Start Menu, search for Registry Editor and click on it to open it.
In the Registry Editor, head to the following address-HKEY_LOCAL_MACHINE\SYSTEM\Setup\MoSetupOn the left sidebar, select MoSetup. Right-click on it, and then click on New, and then DWORD (32-bit) Value.Name the new key-value you created as AllowUpgradesWithUnsupportedTPMOrCPU.Double-click the new key you created, change its value from 0 to 1, and click OK to save the changes.
This will fix the error message, and you should now be able to install Windows 11 officially.
Install Windows 11 Using Media Creation Tool
If none of the above methods work for you, you should try creating a bootable media of Windows 11 using the media creation tool and then install Windows 11. We have a guide on how you can use Windows 11 Media Creation Tool. You can follow that guide, and it will help you with installing Windows 11 on your PC. RELATED GUIDES
“This PC Can’t Run Windows 11” – How to Fix?Fix Ethernet Doesn’t Have a Valid IP Configuration Error in Windows 11Windows 11 Installation Stuck? Here’s How to Fix
Final Words
If you have been getting the ‘This PC doesn’t currently meet all the system requirements for Windows 11′ error message on the PC health check app, then this article will prove helpful to you. Following the above steps, you will be able to fix the error message you have been getting.
Δ


