Make your Own RUN Commands in your PC on every version of windows like 7,8,10 and all. Microsoft Windows has been the leading Operating System on Computers. And one those feature of Windows is the Run Command of Window.The Run command on Windows OS allows you to directly open an application or document Easily.But do you know that you can create your own Command Run that you can use on your Windows computer works for every windows. inside Tech – Trick To Open Run Command dialog Box Press Windows Key + R and the Run dialog box will appear. Run Command is gradually used to directly open any application, documents or folder on your Computer for the one whose path is known so in simple word it acts as a single-line command line interface. So now you got it? Right. So now go ahead and see how to create your own run commands on all windows. This is interesting trick. Well, Read the article and Apply :-
Create own run commands on all windows
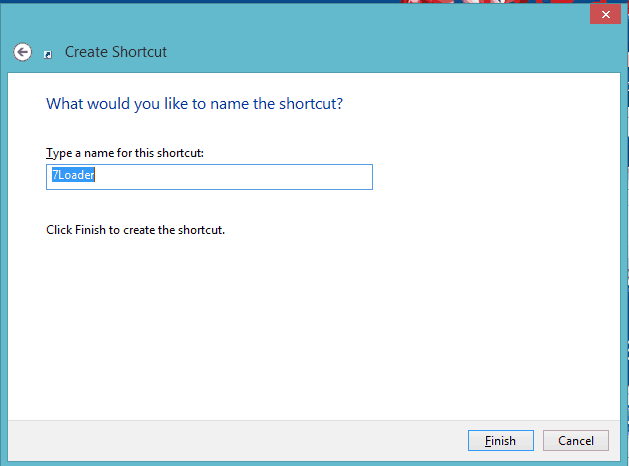
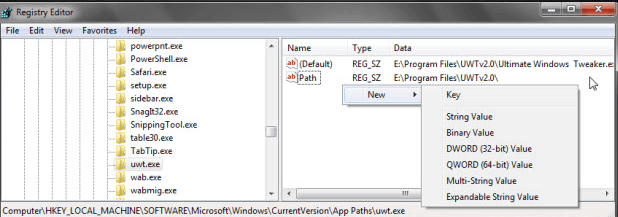
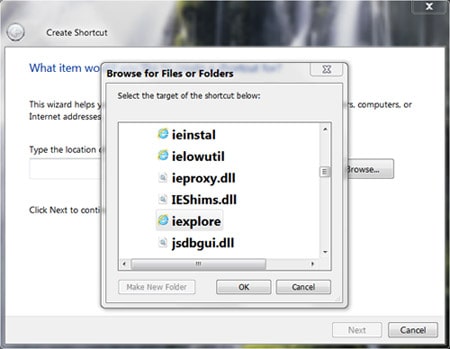
Now if you want to learn the steps to create your own Run Command on your Windows Computer then you will have to read this article till the end and I assure you that you will be able to create your own Run Command with ease. How To Create Your Own Run Commands on Windows- So here we have two different methods to create own run commands on all windows. you can try any of this on your computer both are easy to use. Method #1 Create Run Command Using Your Registry Editor – #1. First of all you will need to open your Registry Editor of your Windows and to do that you will just have to type “regedit” and you will need to hit your Enter Key. #2. Now once your Registry Editor is opened you will have to Navigate the following path: “HKEY_LOCAL_MACHINE\SOFTWARE\Microsoft\Windows\CurrentVersion\App Paths” #3. Now in the left panel of your screen you will have to Right Click on the Path Key and then you will have to click on New > Key and then you will have to name it here I am naming it as “ota”. #4. Now in the right screen panel you will have to double click on the Default string value and in the Box which opens up you will need to type the path off the Program or app for me it is C:\7loader.exe. #5. Now again in the right Screen Panel you will have to right click on the Empty spot and then select New then String Value and name the key as Path and then double click on it and you will have to give it the Value as a Folder Path i.e. the C:. #6. Now you will have to exist the Registry Editor of your Windows Computer. Method #2 Create Own Run Command Using Shortcut Method – #1. Right-click on your Desktop and select New > Shortcut. #2. You will see a “Create Shortcut” Dialog box . #3. Click on “Browse”, navigate to: Program Files -> Internet Explorer from your Root drive (usually C:) and select “iexplore” as shown in the above figure and click on “OK”. #4. Now click on “Next” and type any name for your shortcut. You can choose any name as per your choice; this will be your Own “Run command”. In this case I name my shortcut as “ie“. Click on “Finish”. #5. You will see a shortcut named ie on your desktop. All you need to do is just copy this shortcut and paste it in your Windows folder (usually “C:/Windows”). Once you have copied the shortcut onto your Windows folder, you can delete the one on your Desktop. That’s it! From now on, just open the Run dialog box, type ie and hit Enter to open the Internet Explorer. #6. To do this, when you click on “Browse” in the Step-3, just select the target program’s main executable (.exe) file which will usually be located in the “C:\Program Files” folder. Give a simple and short name for this shortcut as per your choice and copy the shortcut file onto the Windows folder as usual. So by this you can create your own run command on windows. this method is very helpful create own run commands on all windows. Feel free to comment below. Don’t forget to share this Trick.
Δ


